
If you decide to try a DIY solar installation, we recommend you take the following steps to figure out how to best proceed with your project.
1. Planning
The first step is to determine which location makes sense to install solar panels on your property. Preferably, you will want to install your panels on an area of your roof that sees decent amounts of sunlight throughout the year. If your home is surrounded by taller buildings or trees and experiences constant shade, DIY solar panels may not be as attractive an option unless you also plan to purchase a backup battery.
You also have to consider permits. Depending on how you configure and install your DIY solar panels, you may need a permit from the local building department or utility company. Solar panels that are permanently attached to your roof may be classified as a home upgrade and subject to a construction permit.
Grid-tied solar panels must also be approved by your utility company, which will provide a list of technical requirements to ensure electrical safety. Permitting is often the most challenging step of a DIY solar project since you must meet technical specifications that are legally enforced. However, off-grid solar systems are normally exempt from permits since those projects don’t involve home modifications or a connection to the local grid.
2. System Design
There are a few important questions to answer before setting up a DIY solar panel system:
The solar panels used in DIY projects are normally smaller than those used by professional installers. The PV modules included in DIY solar kits are normally in the range of 50 to 200 W, while the larger modules used in rooftop installations often exceed 350 W.
To get a quick estimate of your annual electricity production in kilowatt-hours, you can multiply the total solar panel wattage by 1.2. For example, a DIY solar system with eight 100 W modules would have 800 W of total capacity and generate around 960 kilowatt-hours (kWh) per year. At an electricity price of 20 cents/kWh, this system would save you around $192 per year compared to traditional electric bills.
Since DIY solar panels are not usually eligible for connection to the electrical grid, you will need a battery backup system. You should add the total wattage of all devices you intend to power with solar energy and find a battery that is capable of supplying this wattage. Lithium-ion batteries are recommended over traditional lead-acid batteries since they are safer to use and more durable.
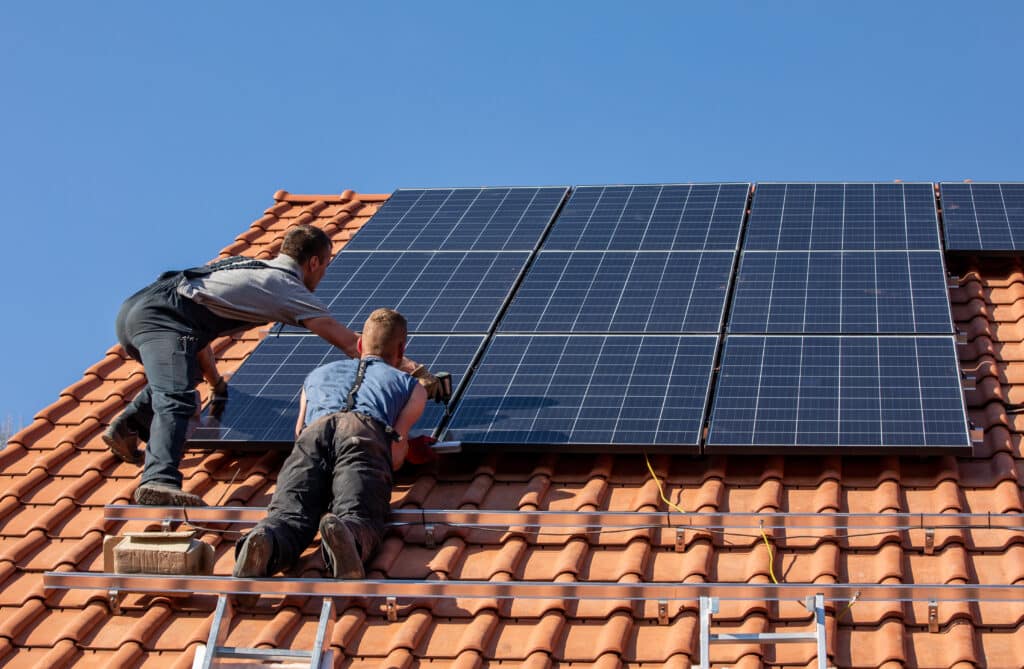
3. Installation
Solar panels should be positioned to get maximum sunshine on their surface. In the case of the U.S., which is in the northern hemisphere, solar panels should be tilted south since there is more sunlight coming from that half of the sky. To determine the optimal tilt angle for solar panels, you can visit the World Bank Global Solar Atlas and click on your location.
Many DIY solar panels come with an adjustable kickstand to prop up your panels. However, if you’re considering a permanent solar installation on your home, you need a suitable racking system or roof mount. The list below outlines a few factors to consider:
- If you have a standing seam metal roof, the solar racking system can be attached directly with clamp mounts. There is no need to drill holes in your roof structure.
- You will need penetrating mounts to install solar panels on other roof types, which involves drilling holes.
- A ground mount solar installation is also an option if your property has enough space, and you avoid the risk associated with working on your roof at a height.
A solar inverter is a device that converts the direct current or DC power generated by your panel’s PV modules into the alternating current or AC power used to power your home. There are two main configuration options:
- String inverters: All solar panels are wired together into a DC circuit and connected to a central inverter for power conversion.
- Microinverters: Each solar panel is equipped with a microinverter that converts its output to AC power. There is no need for a DC string circuit and a main inverter.
4. Obtaining Permission to Operate
Permitting is the main bottleneck for many DIY solar projects. As mentioned above, you will most likely need a construction permit if your solar panels are attached permanently to your roof, and need an interconnection permit if you want a grid-tied system. Most utility companies will not allow interconnection unless your solar panels are professionally installed.
Next Steps
There are many useful resources available to help you learn more about solar panel technology, costs and incentive programs available throughout the U.S.
Check out the solar incentive options in your state using the dropdown menu below:
This post was originally published on 3rd party site mentioned in the title of this site
