
How To Install Solar Panels: 2024 – MarketWatch
Once you’ve chosen a company, you‘ll begin the solar panel installation process. An installation typically takes one to three months but could take longer. Common delays include waiting for permit approvals, availability in your installer’s schedule or issues with final inspections. Here’s an overview of the installation process and the steps your installer will take to complete it.
1. An Engineer Conducts a Site Visit
An engineer from your solar company will conduct a site visit to finalize plans before the installation begins. The engineer may be a member of the in-house staff or part of the installer’s network of third-party contractors. During their evaluation, the engineer checks your electrical system’s capacity to ensure it’s compatible with your new solar system. Any outdated or low-powered systems must be upgraded to handle the amps of current required to run your solar system.
The engineer also verifies your roof’s condition and determines its durability. Your roof must be strong enough to support the solar panels and the racking systems. According to Sunpower Solar, most panels weigh around 40 pounds each. The engineer will compare the size of your panel installation with the condition of your roof. If your roof is in poor condition or needs repair, you’ll need to make those upgrades before installation. In addition, your roof’s design and angle will determine if you need special mounting equipment.
2. The Installer Submits the Permits and Paperwork
Your installer will submit all necessary paperwork and permits for your new solar system. Most solar companies will update you on the application status. The following paperwork is required for most installations:
- Electrical and building permits: The local Authority Having Jurisdiction (AHJ) must approve your solar system installation. They’ll verify that the system meets all local fire codes and regulations.
- Interconnection agreement: You’ll need this agreement with your local solar company to connect your system to the power grid. Unless you plan to go off-grid, you’ll need power supplied to your solar system when panels are inoperable. You’ll also have the opportunity to apply for local net-metering programs, which allow you to sell back your excess energy to the utility company for credits or payouts.
- Solar incentive applications: Homeowners should apply for qualifying solar incentive programs to reduce installation costs. Your solar provider should be familiar with local programs and offer assistance with these applications.
Additional paperwork may be needed for your Homeowner’s Association (HOA). Some HOAs have regulations on solar panel systems to preserve a neighborhood’s property value and general aesthetics. On rare occasions, an HOA may block solar panel installation. Several states have laws in place to protect residents against these restrictions. Texas, for example, has a Solar Rights code that prevents HOAs from blocking solar panel installations. Check with your local representative to verify such restrictions or bylaws.
Application approval times vary between each state. Some areas approve permits in seven days or less, while others could take several weeks. Ask your solar provider for an estimated timeline and updates on the status of your permits.
3. Order Your Solar Equipment
After your paperwork is approved, the solar company places your equipment order. The order includes your selected type of solar panels and the supporting mounting system. Your provider may have given you options for your inverter brand. The inverter converts the incoming solar energy from direct current (DC) energy to the alternating current (AC) energy needed for your home. Additional accessories, such as battery backup systems, also come with this order.
Next, your installer will select an installation date. The date could be delayed depending on the equipment’s availability and your solar installer’s schedule. Most installers try to work with customers to find a date that aligns with everyone’s schedule.
4. Installing Your Solar System
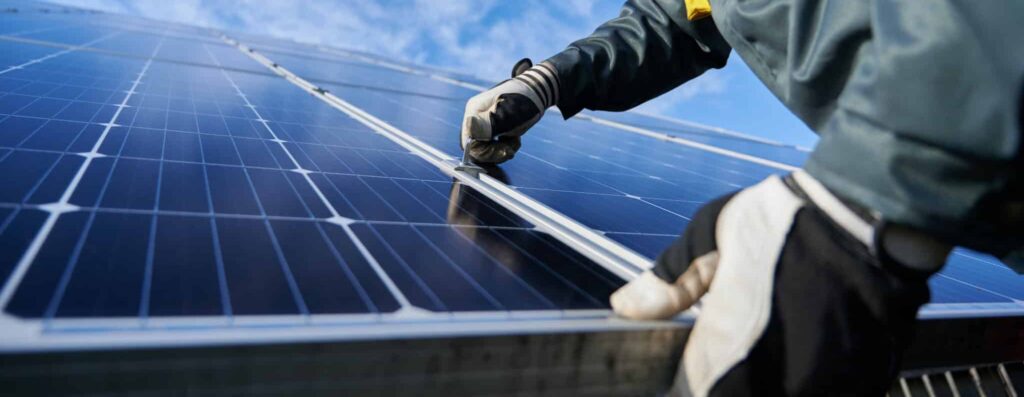
Either in-house installers or third-party contractors will install your solar system. The crew will arrive with all the necessary equipment and aim to complete the installation in one day. If your home requires special mounting equipment or a complicated installation, your project could take several days to complete.
The installers will measure and mark your roof for panel placement. They’ll install the electrical wiring and mounting equipment before attaching your solar panels. They’ll then assemble the other parts of the solar power system, including the inverters, battery bank and other accessories.
5. Inspecting and Activating Your System
Your solar system must be inspected and approved before activation. A local government representative will check for faulty wiring, loose mounting systems or potential fire hazards. After passing this inspection, your system receives permission to operate (PTO). Your installer will schedule this inspection, which could take a couple of weeks.
Finally, an electrician from your local utility company will check the system before activation. Again, your installer will book this appointment and inform you of the expected completion timeline.